Deciding to install solar panels is an exciting step toward energy independence and sustainability. However, many homeowners aren't sure what to expect during the installation process. This guide will walk you through each phase of solar installation, from initial consultation to final inspection, so you can prepare accordingly and ensure a smooth transition to clean energy.
Phase 1: Initial Consultation and Site Assessment
The solar installation journey begins with a thorough evaluation of your property and energy needs.
What Happens:
- Energy usage analysis: Review of your electricity bills to determine your average consumption and appropriate system size.
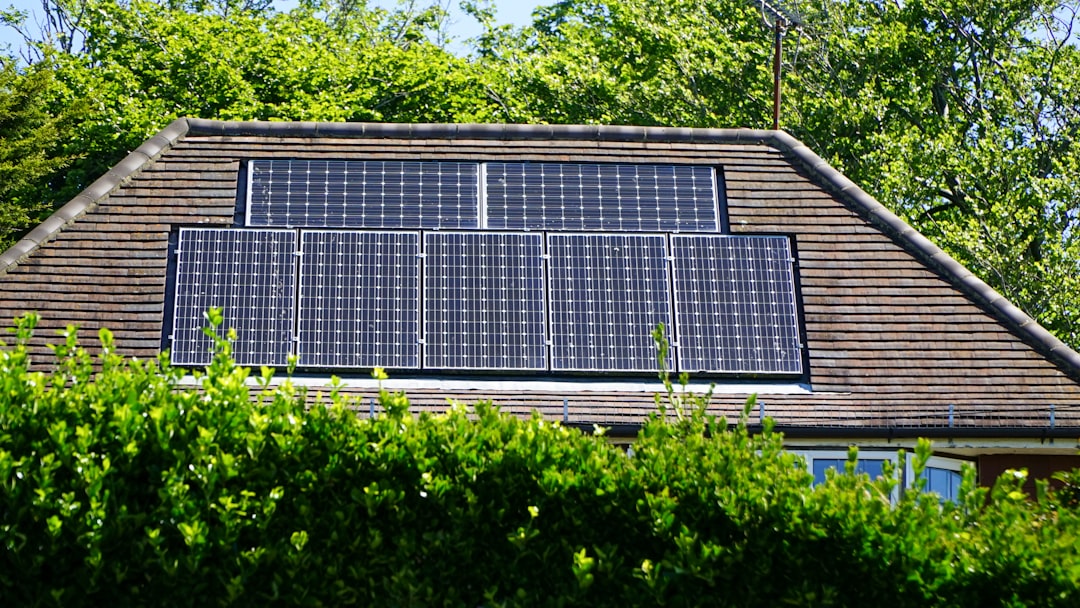
- Roof inspection: Assessment of your roof's condition, age, orientation, and structural integrity.
- Shading analysis: Evaluation of potential obstructions (trees, neighboring buildings) that could cast shadows on your panels.
- Electrical system review: Inspection of your existing electrical panel and wiring to ensure compatibility.
How to Prepare:
- Gather 12 months of electricity bills to provide accurate usage data
- Clear access to your roof, attic, and electrical panel
- Make a list of questions about the installation process
- Consider any planned changes to your property or energy usage
Pro Tip
If your roof is more than 15 years old or showing signs of wear, consider replacing it before installing solar panels. This prevents the need to remove and reinstall the panels later, which can be costly.
Phase 2: System Design and Proposal
Based on the site assessment, your solar provider will develop a customized system design and provide a detailed proposal.
What to Expect in Your Proposal:
- Recommended system size and configuration
- Equipment specifications (panels, inverters, mounting hardware)
- Visual representation of panel placement
- Energy production estimates
- Financial details including costs, incentives, and financing options
- Projected savings and payback period
- Warranty information
Questions to Ask During This Phase:
- What happens if my energy needs change in the future?
- How does the equipment compare to other options on the market?
- What maintenance will the system require?
- How will the installation affect my roof warranty?
- What happens during power outages?
Phase 3: Permitting and Paperwork
Before installation can begin, various permits and approvals must be obtained.
Typical Requirements:
- Building permits: Required by local building departments to ensure structural safety.
- Electrical permits: Verify that electrical work meets code requirements.
- Utility interconnection agreement: Allows your system to connect to the electrical grid.
- HOA approval: If applicable, permission from your homeowners association.
- Incentive applications: Paperwork for tax credits, rebates, and other financial incentives.
This phase typically takes 2-8 weeks depending on your location and the efficiency of local permitting offices. A reputable solar company will handle most of this paperwork on your behalf.
Important Note
Some HOAs have specific requirements regarding panel placement and visibility. Review your HOA guidelines early in the process to avoid delays or design changes.
Phase 4: Pre-Installation Preparation
Once permits are approved, your installer will prepare for installation day.
How to Prepare Your Home:
- Clear access to work areas including driveways, yards, and roof access points
- Remove vehicles from the driveway and garage
- Secure pets in a safe area away from work zones
- Trim branches that might obstruct access to the roof
- Clear space around your electrical panel
- Remove valuable or fragile items from walls and shelves that might vibrate during installation
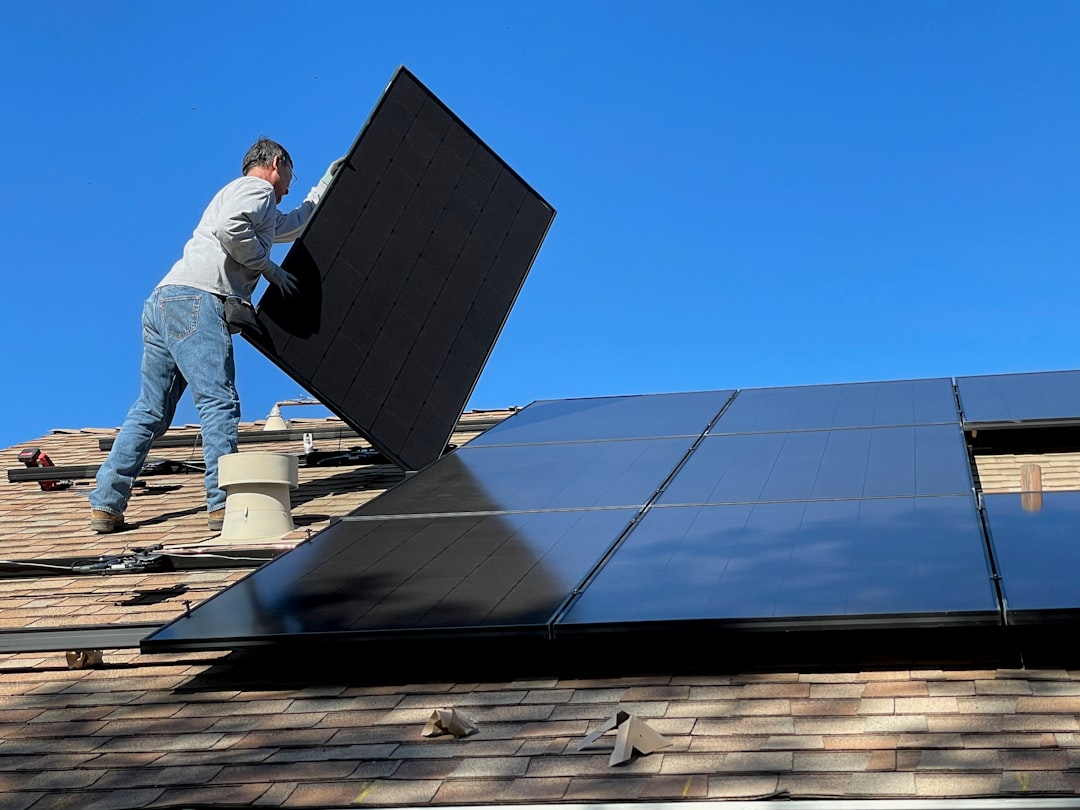
Phase 5: Installation Day
The actual installation process typically takes 1-3 days for residential systems.
Installation Steps:
- Mounting system installation: Secure racks to your roof that will hold the panels
- Panel placement: Attach solar panels to the mounting system
- Electrical wiring: Connect panels to inverters and your home's electrical system
- Inverter installation: Mount and connect inverters (which convert DC power from panels to AC power for your home)
- Battery installation: If applicable, install and connect storage batteries
- Monitoring system setup: Install performance monitoring hardware and software
What to Expect During Installation:
- Noise from drilling and power tools
- Workers on your roof and around your property
- Brief power interruptions when connecting to your electrical panel
- Possible dust and debris
Phase 6: Inspection and Utility Connection
After installation, your system must be inspected and officially connected to the grid.
The Process:
- Local inspection: A city or county inspector verifies the system meets building and electrical codes
- Utility inspection: Your utility company reviews the installation
- Meter installation: If needed, the utility installs a new bidirectional meter to track energy sent to and drawn from the grid
- Permission to operate (PTO): Official approval from your utility company to activate your system
This phase typically takes 2-4 weeks after installation is complete. Your system cannot be activated until you receive permission to operate from your utility company.
Phase 7: System Activation and Monitoring
The final step is turning on your solar power system and setting up monitoring.
What to Expect:
- A walkthrough of system operation and monitoring tools
- Instructions on reading your inverter and monitoring app/portal
- Information about what to do in case of system issues
- Details on maintenance requirements

Common Questions and Concerns
How long does the entire process take from start to finish?
Typically 2-3 months from signing a contract to system activation, though this varies by location and complexity. The actual installation usually takes only 1-3 days.
Will my roof leak after solar panel installation?
Professional installers use industry-standard waterproofing techniques. Properly installed solar mounting systems actually protect the portion of roof they cover, and reputable installers provide warranties against roof damage or leaks.
Do I need to be home during the installation?
It's not always necessary to be present during the entire installation, but you should be available at the beginning to provide access and at the end for the walkthrough. Your installer will advise you of their specific requirements.
What happens if I have problems after installation?
Your system should come with warranties covering equipment (typically 25+ years for panels, 10+ years for inverters) and workmanship (1-10 years). Your installer should provide support for any issues that arise.
Conclusion: Preparing for a Smooth Installation
A successful solar installation depends on proper preparation and working with qualified professionals. By understanding the process and knowing what to expect at each phase, you can help ensure your transition to solar energy is as smooth as possible.
Remember that while the installation process may seem complex, a reputable solar provider will guide you through each step and handle the majority of technical and administrative tasks on your behalf.
Ready to begin your solar journey? Contact us to schedule a consultation and site assessment.